
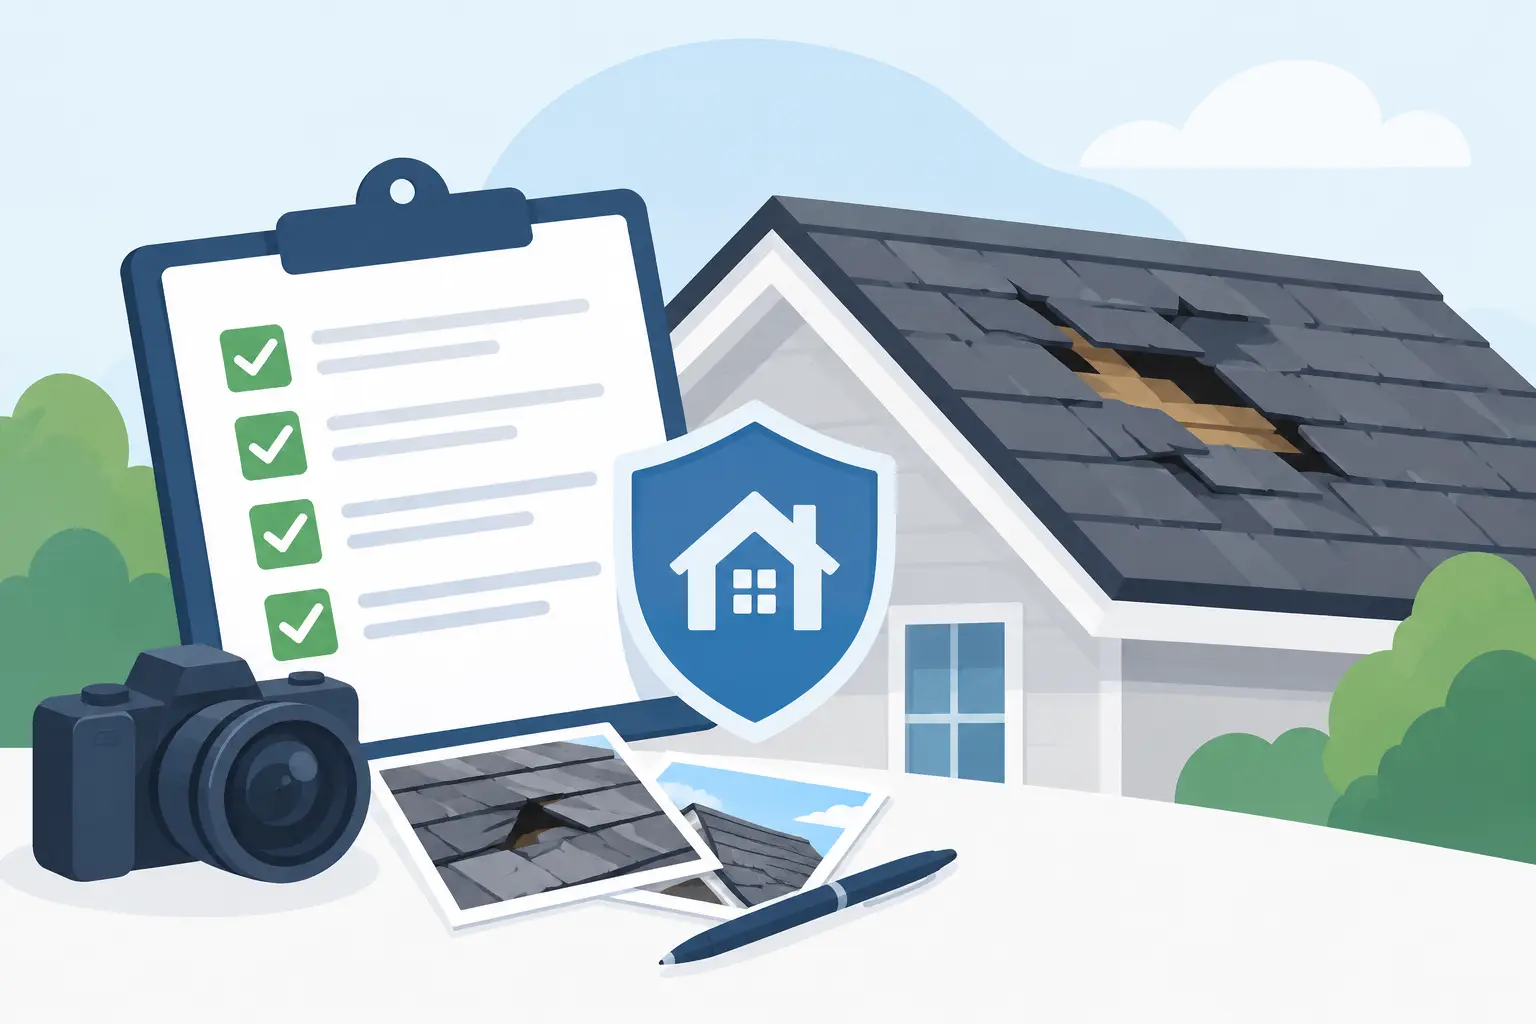
A storm can leave behind more than a few shingles in the yard. A small roof opening can allow water into insulation, ceilings, and wall cavities long after the rain stops. That is why roof damage insurance claim documentation should begin as soon as it is safe to inspect the property. Clear, organized records give you a dependable file to reference when speaking with your insurance company and planning needed repairs.
For homeowners in Coastal Georgia and the South Carolina Lowcountry, wind-driven rain, fallen limbs, hail, and tropical weather can create damage that is not always visible from the ground. The goal is not to guess at the extent of the problem. It is to preserve the facts: what happened, when it happened, what changed at your home, and what a professional inspection found.
Start With Safety and Prevent Further Damage
Do not climb onto a storm-damaged roof to take pictures. Wet shingles, loose materials, hidden punctures, and downed power lines can turn a simple inspection into an emergency. Photograph what you can safely see from the ground, including missing shingles, bent flashing, damaged gutters, fallen branches, and debris around the property.
If water is entering the home, take reasonable steps to limit additional interior damage. Move belongings away from the leak, place containers beneath active drips, and photograph stained drywall, wet flooring, damaged furniture, or other affected areas before cleanup begins. Keep receipts for emergency materials or temporary protective work.
Temporary protection is not the same as a permanent repair. A tarp or other short-term measure may help keep water out, but the roof still needs a proper assessment. Waiting through several more rainstorms can make it harder to separate the original storm damage from later deterioration.
What to Include in Roof Damage Insurance Claim Documentation
A useful documentation file tells a clear story without requiring anyone to fill in the gaps. Start a folder on your phone, computer, or cloud storage and keep every related item together. Name files by date so they are easy to find later.
Your records should include these core pieces:
- Dated photos and videos of exterior roof damage, gutters, siding, fascia, vents, skylights, and debris
- Photos of interior water damage, including ceilings, walls, attic areas, insulation, and personal property
- Weather details, such as the storm date, local alerts, wind reports, hail reports, or nearby tree damage
- Maintenance records, prior repair invoices, roof warranty information, and photos taken before the storm if available
- Written inspection findings, roof measurements, and a detailed repair or replacement estimate
- Receipts for reasonable emergency protection, cleanup, or temporary repairs
Wide photos establish the overall condition of the property. Closer photos show the specific damage. When possible, take both. For example, photograph the entire roof slope from the ground, then take a closer image of a missing-shingle area using a safe angle or a professional inspection image.
Avoid editing photos beyond basic file organization. Original, time-stamped images are generally more useful than heavily marked-up screenshots. If you add notes, keep the original image and save the annotated copy separately.
Keep a Simple Damage Log
Photos matter, but a short written timeline can prevent confusion later. Record the date and approximate time of the storm, when you first noticed damage, where you saw leaks, and what temporary steps were taken. Add the date of each inspection, repair visit, phone call, and document received.
Use plain language. “Water stain appeared on the living room ceiling after heavy wind and rain on May 14” is more helpful than “ceiling damage.” Facts are stronger than assumptions, especially when the roof has several affected areas.
Get a Professional Roof Inspection Early
Not every roofing problem is obvious from a driveway. Wind can lift shingles without tearing them completely off. Hail may leave subtle impact marks. Flashing can loosen around chimneys, vents, or wall transitions, creating a path for water that may not show up indoors until the next storm.
A professional inspection creates a more complete record of the roof’s present condition. Ask for dated photographs, clear findings, measurements, and a written estimate that identifies the recommended scope of work. These documents can help you understand what needs attention and provide information you may choose to submit to your insurance company.
Real Good Roofing provides storm-damage inspections with dated photos, measurements, and written estimates for property owners who need a clear picture of their roof’s condition. FAA-certified drone inspection capability can also help document areas that are difficult or unsafe to view from the ground.
Coverage decisions, policy terms, and claim questions belong with your insurance company. A roofing professional’s role is to inspect the roof, document visible conditions, explain repair options, and provide an accurate scope for the work needed.
Make the Estimate Easy to Read
A vague estimate can leave you with more questions than answers. A useful roofing estimate identifies the affected roof sections, materials involved, labor needed, and related components such as flashing, underlayment, vents, gutters, siding, or trim when they are damaged.
It should also distinguish between immediate repair needs and broader work that may be recommended because of the roof’s overall condition. That distinction matters. A recent storm may reveal an urgent opening around flashing, while an older roof may also have wear unrelated to that event. Good documentation does not force every issue into one category. It records what the inspection shows.
If you receive more than one inspection or estimate, keep each document. Differences do not automatically mean one is wrong. Roof access, inspection methods, visible conditions, and the scope being evaluated can vary. Ask questions until you understand what each document includes.
Document Interior Damage Before Repairs Begin
Roof damage often becomes an interior problem quickly. Water can travel along rafters, framing, electrical pathways, or insulation before it appears as a stain. Photograph the first visible signs and revisit the area after the next rain if conditions change.
For attic spaces, look for wet insulation, darkened wood, active dripping, mold-like staining, or daylight visible through the roof deck. Do not disturb wet electrical equipment or enter an attic with sagging ceilings or compromised framing. Those conditions call for prompt professional attention.
After documenting the damage, do not delay necessary repairs just to preserve evidence. A well-documented condition paired with a qualified inspection is more useful than allowing a leak to cause additional damage. Keep copies of invoices and before-and-after photos for all completed work.
Common Documentation Mistakes to Avoid
The most common mistake is waiting too long. Storm damage can worsen, debris gets cleared, and temporary leaks can become harder to trace. Taking photos the day you notice a concern gives you a better starting point, even if a full inspection happens later.
Another mistake is documenting only the roof. Gutters, downspouts, siding, window screens, exterior trim, fencing, and interior ceilings may provide important context after a severe weather event. Photograph the surrounding property without assuming every mark came from the same cause.
Finally, do not rely on memory or verbal descriptions alone. Save emails, estimates, invoices, inspection reports, receipts, and photos in one place. A complete file saves time when you need to review dates, compare conditions, or schedule the right repairs.
A roof protects everything beneath it, and storm damage deserves prompt attention. If you see missing materials, active leaks, or signs of water intrusion after severe weather, arrange a professional inspection, keep your records organized, and address needed repairs before the next storm has a chance to make a manageable problem larger.